

How to connect your custom sub domain/Domain to Hashnode Ex: blog.yourdomain.com/www.yourdomain.com
In only 3 Steps


Table of contents
Hello everyone, I'm Surya L and this is my first blog. The purpose of this blog is to teach you how to connect your subdomain to Hashnode and start blogging on it.
The following things are needed:
- your Domain/sub Domain ex: ayrus.com.
- hashnode account.
Lets Get started
Step 1:
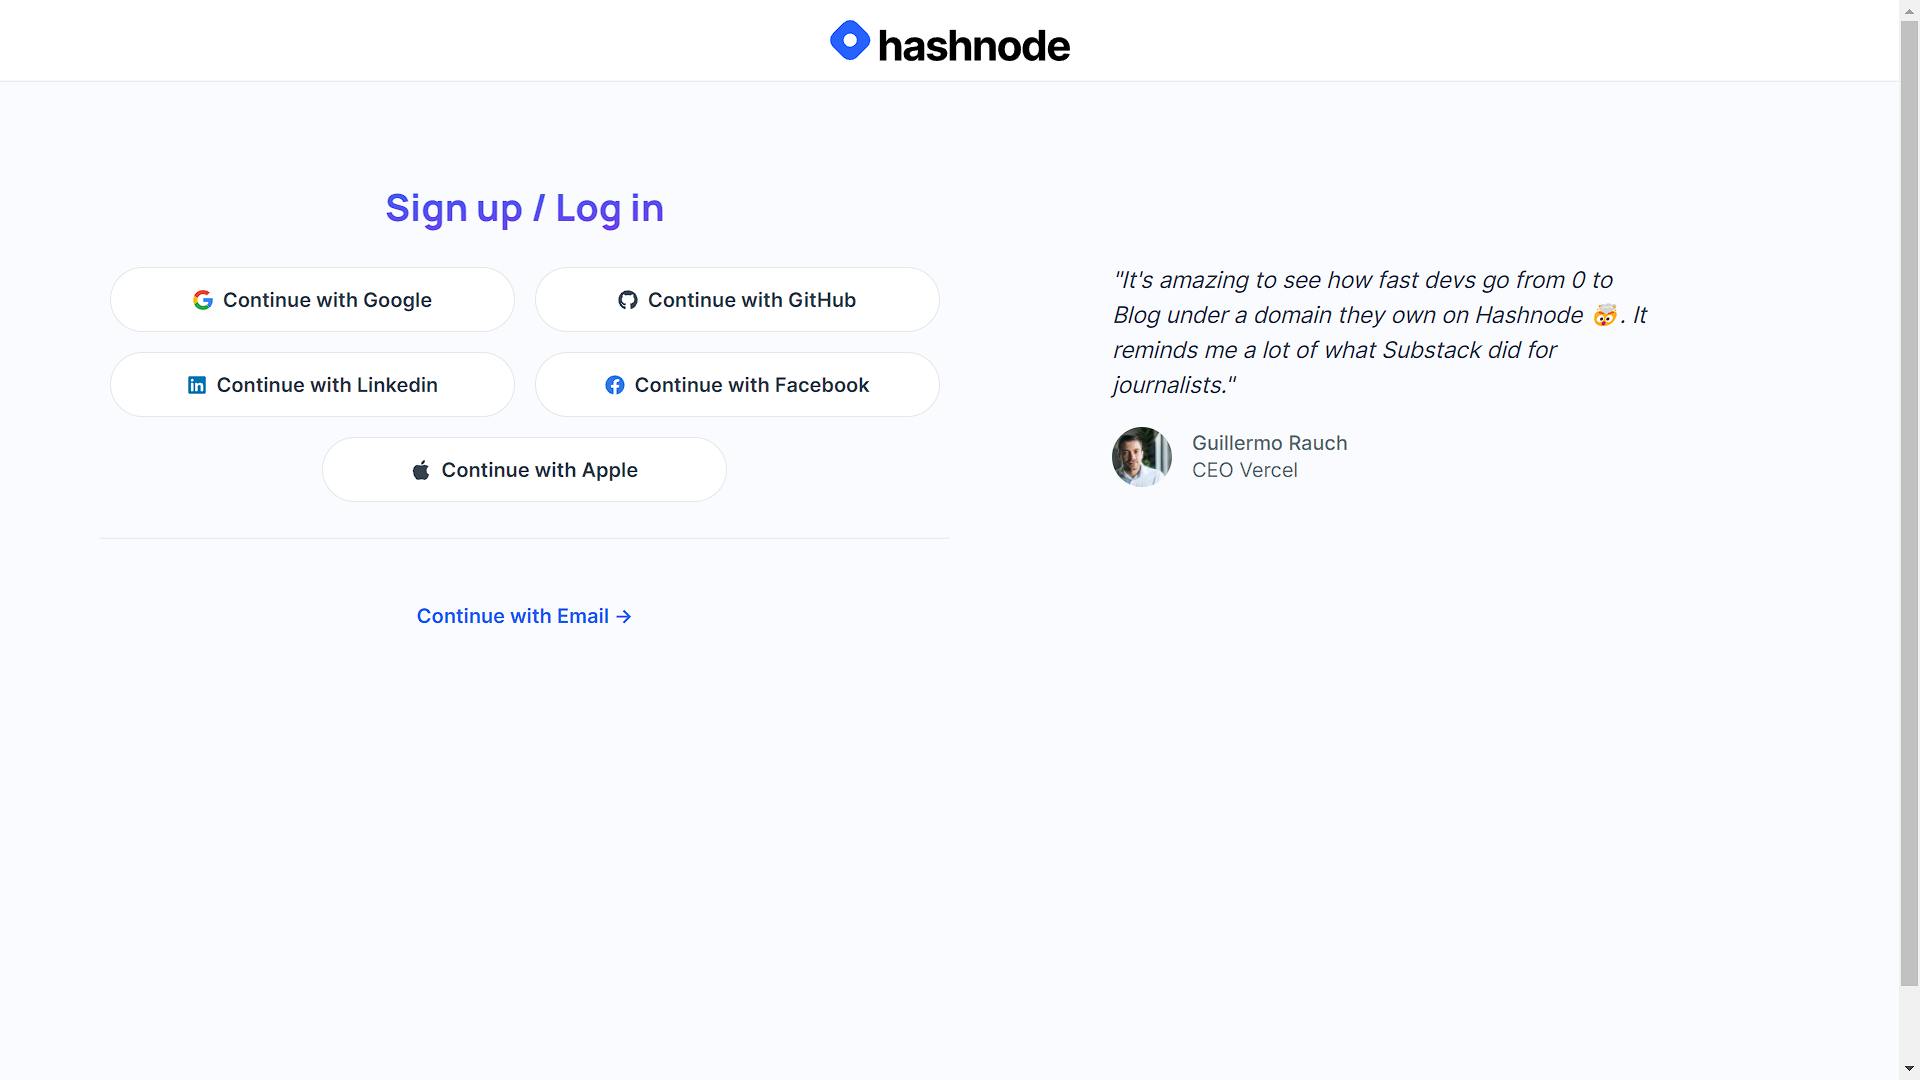
Create your Hashnode Account via Google/GitHub/Facebook etc.
Changing custom domains can be done either after login or after completing registration. Let's change the custom domain first, and then we'll see how to change it the other way around later.
Step 2:
Open Domain Dashboard
Then Go to your Cpanel/Hpanel and search DNZ ZONE EDITOR

Open DNZ ZONE EDITOR you will get to this page:

To connect your domain/subdomain to Hashnode server, you can add Hashnode information here. After adding the above information, you have to wait approximately 24 hr maximum so that the domain will be connected to Hashnode account.
Step 3
Within 24hours you should be able to see the Domain/Sub Domain on the Internet and it will be connected to the Hashnode account. Congratulations, you have finished the tutorial in the Blog!
You can follow the steps from Step 2 if you already have a Hashnode account and linked your domain, then you can go to Hashnode blog setting ->Domain ->Enter the domain name.
Thank you for reading
#blog #domain #subdomain #hashnode
Basic FAQs:
- What should be the domain name for blog? Ans: The name for your your domain can be yourName.com. For subdomain blog.yourName.com.
- How long does it take? Ans: It may take up to 24 hours for DNS changes to propagate fully. But it's usually pretty quick. You can check the progress by using a service like this.
- What about SSL certificate? Ans: Hashnode automatically provision an SSL certificate for your domain using Let's Encrypt when you visit your blog for the first time.